How to Arrange Wall Art Above a Sofa
Before making holes for wall art above a sofa, cut paper to the outside size of your frames and try the arrangement on the wall. You can adjust its width, height and spacing without lifting heavy pictures repeatedly. The useful question is not just whether the frames fit, but whether they feel connected to the sofa from across the room.
Start with pictures you enjoy. One landscape, a pair of photographs or a small collection can all work. Use the process below to find a place for them rather than buying a matching set simply to fill a blank wall.
1. Settle the Sofa Position First
Place the sofa where it works for conversation, viewing and movement before planning the art. Otherwise, you may finish the wall and then discover that the seating needs to move. If the room arrangement is still undecided, start with our small living room ideas.
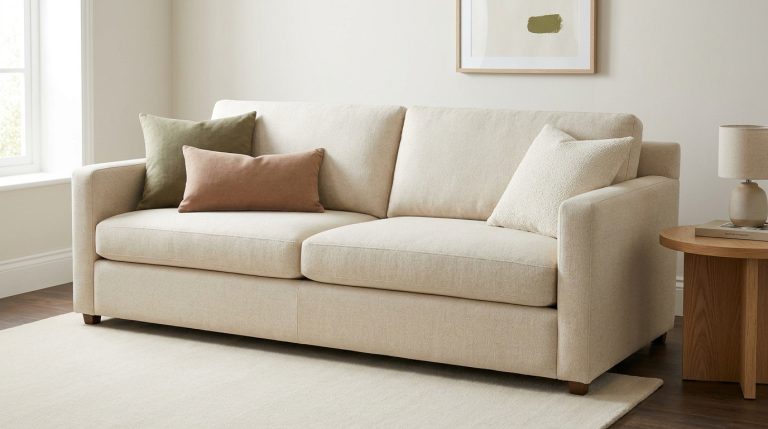
Measure the sofa from its outside edges and find its midpoint. For a straightforward arrangement, use this as the center of the art grouping. Centering on the entire wall can leave the pictures looking disconnected when the sofa sits to one side of a doorway or window.
With a sectional, begin by considering the back of the section against the wall. A chaise extending into the room does not automatically need to be included in the width of the wall display. Check the composition from the doorway before deciding.
2. Choose the Arrangement Your Pictures Suit
Look at the outside frame sizes, not just the print dimensions. A wide mat or thick frame can change the amount of wall a picture occupies.
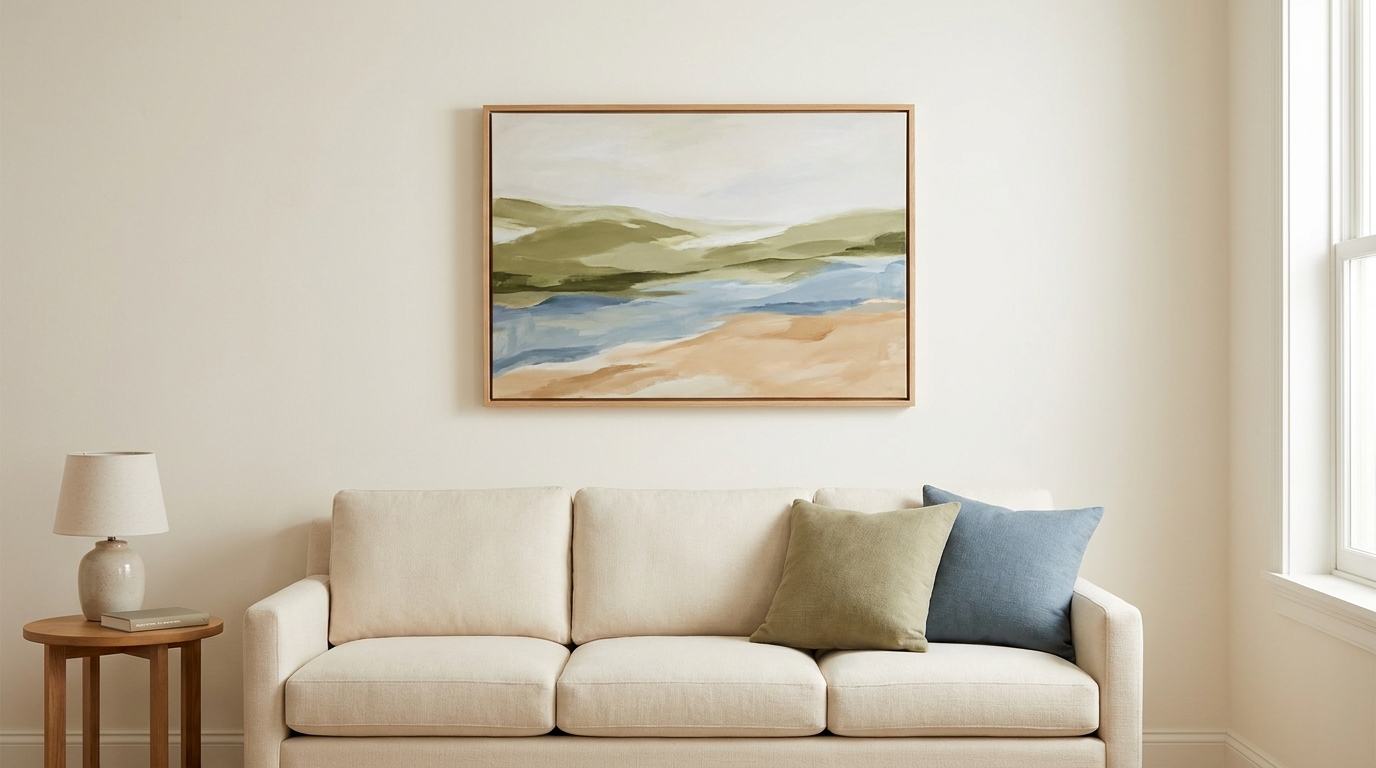
One large piece: Useful when a favorite picture has enough presence on its own. A horizontal shape often relates easily to a sofa, but you can test a taller piece without surrounding it with extras.
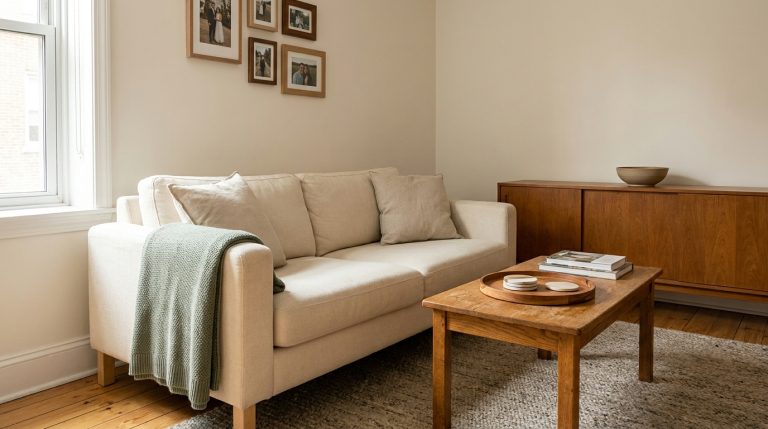
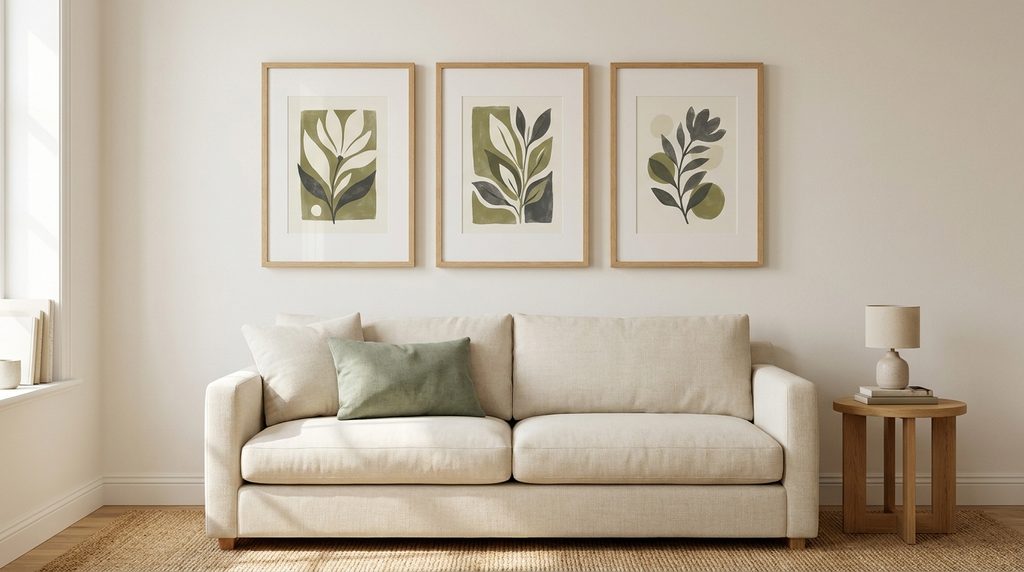
A pair or a row: Works well for pictures that relate through subject, color or framing. Equal-sized frames make alignment simple. With different sizes, choose a deliberate relationship, such as a shared centerline, instead of trying to align every edge.
A mixed group: Useful for a collection that includes different formats. Choose the picture you most want to notice, then arrange the others around it. Spread darker or visually heavier pieces with care so one end does not dominate accidentally.
If your collection is small, keep the group compact. Very wide gaps rarely make a few small pictures feel like one larger artwork. You can also give a modest picture a different wall and leave the sofa wall open for now.
If you are considering wallpaper instead of pictures, check whether peel and stick wallpaper on textured walls is suitable for your surface before ordering a full wall’s worth.
3. Work Out the Total Width, Including Gaps
For a starting proportion, Framebridge suggests a gallery wall about two-thirds the width of the furniture below it. Treat that as a size to test, not a requirement to replace pictures you already like. Nearby curtains, lamps and wall openings also affect the available composition.
A worked example: Imagine a sofa 180 cm wide. Two-thirds of that is 120 cm. Three frames with outside widths of 36 cm, separated by two gaps of 6 cm, create a group exactly 120 cm wide:
36 + 6 + 36 + 6 + 36 = 120 cm.
Centered over this example sofa, the group leaves 30 cm between each sofa edge and the corresponding outside edge of the artwork. Those are illustrative measurements, not a shopping specification. Use your own sofa and frame dimensions; the same calculation works in inches.
Measure between the outside edges of neighboring frames. For a mixed group, check the narrowest gaps where corners or edges approach each other. A crowded pinch point can stand out even when the average spacing looks generous.
4. Test the Height of Wall Art Above a Sofa
Framebridge’s gallery-wall guidance suggests leaving 7–10 inches, approximately 18–25 cm, between furniture and the lowest frame, with 2–3 inches, approximately 5–8 cm, between frames. These are visual starting points, not safety clearances or universal rules.
Try the bottom edge of your paper layout in relation to the sofa back and its usual cushions. Then sit down and lean back as you normally would. The finished frames need to remain clear of people’s heads and moving cushions. A high-backed or reclining sofa may need a different position or another wall for the art.
Do not raise the whole arrangement simply to occupy the space below a tall ceiling. Look at the relationship between the sofa and the pictures first. If there is a deep strip of empty wall between them, compare a lower paper placement before committing.
5. Make a Paper Mockup and Change One Thing at a Time
Trace each frame’s outside shape onto plain paper and cut it out. Number the templates on the back so you know which picture each represents. Use a small amount of tape appropriate for the wall finish, testing it discreetly first; removable tape can still damage delicate or poorly bonded paint.
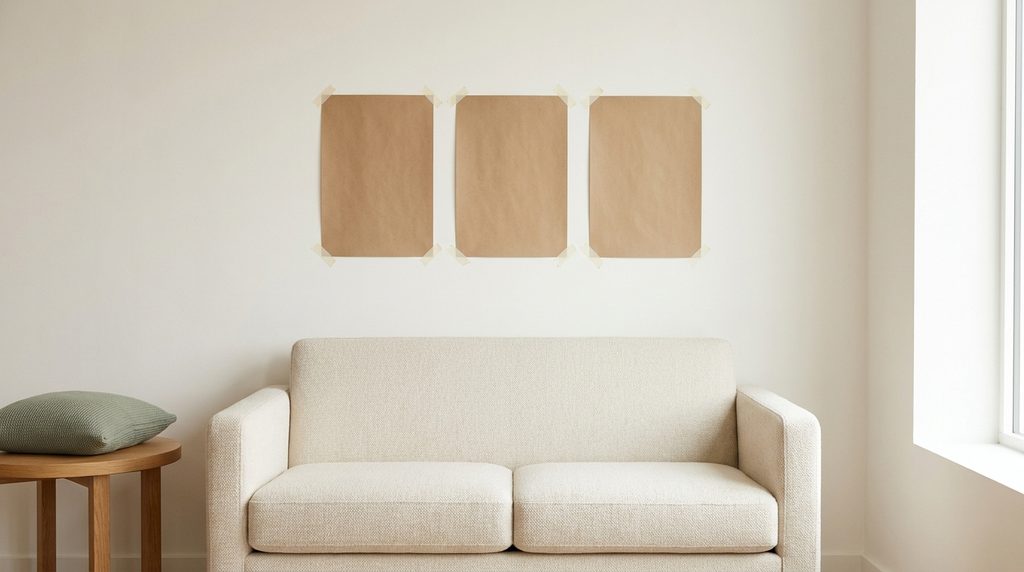
Start with the overall position, then adjust individual gaps. Take one photograph from your normal view of the room. Move the group slightly, take another, and compare. Changing height, width and spacing all at once makes it harder to see which adjustment helped.
Check the wall from an adjoining seat as well as the doorway. Paper shows the outline, but not glass reflections or the visual weight of dark artwork. Think about nearby lamps and windows, and check the finished pictures from those views once they are securely hung.
For a mixed collection, sketch a light mark on the template for a particularly dark or colorful picture. This can help you judge the balance without handling the actual frames repeatedly.
6. Transfer the Layout to the Actual Hanging Hardware
The frame’s top edge is not necessarily the fixing point. Follow its hanging instructions and measure the location of the actual attachment, whether that is a wire, bracket or pair of hangers. Frames with identical outside dimensions can still need fixings at different heights.
Use hardware suitable for the wall construction and the complete framed weight. Check for concealed services before making holes, and get suitable help for heavy pieces or uncertain mounting. Clear the work area and use proper access equipment rather than standing on the sofa.
Once each frame is securely supported, check its level and the planned spacing. View the group from your original photograph position. Small alignment adjustments may be all that is needed; avoid adding another picture just because an area of wall remains empty.
If the Arrangement Still Feels Wrong
The pictures seem disconnected: Compare the group with the sofa’s center, then revisit the gap above the back. Use paper to test a change before moving fixings.
One end feels heavier: Look for a dark frame, a bold image or a nearby floor lamp pulling attention to that side. Rebalancing one picture may work better than making the entire display wider.
The wall looks too busy: Remove the least important piece from your proposed layout. Keep the pictures that matter to you and give them enough separation to read clearly. For other changes using existing belongings, see our guide to refreshing your home with what you already own.
Keep the paper templates with your measurements if you may rearrange later. They make it easier to try a new picture or adapt the display when the sofa moves, without starting the planning process again.