Where to Put a Dish Drying Rack in a Small Kitchen
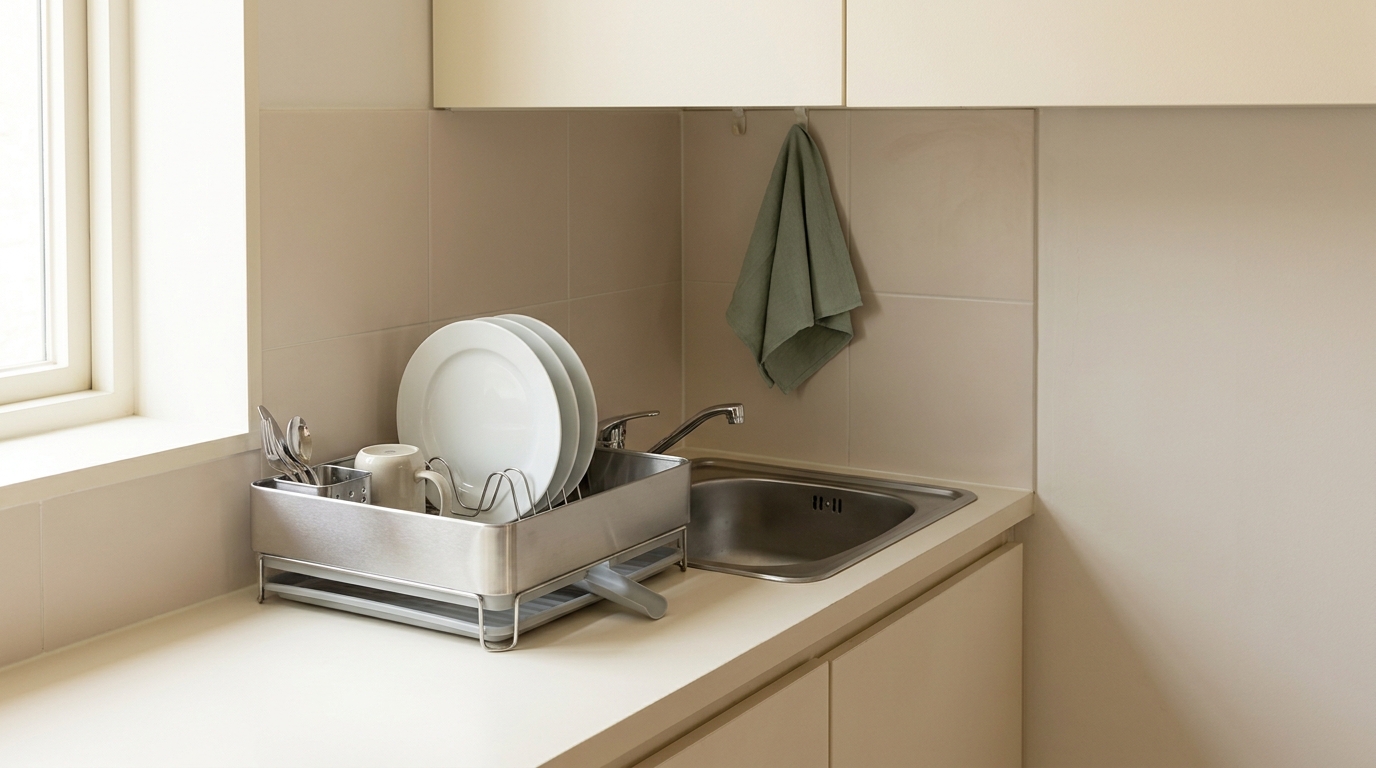
The most useful place for a dish drying rack in a small kitchen is usually beside the sink, with drainage directed into the bowl and your main preparation area left clear. If there is no suitable counter space, a correctly fitted rack across part of the sink can work. The trade-off is that dishes may occupy space you still need for washing.
Start with the route from washing to drying to putting away. A rack that fits an empty corner can still be awkward if you carry dripping dishes across the kitchen, reach over clean plates to turn on the tap, or move everything whenever you need a chopping board.
Find a Place for a Dish Drying Rack in a Small Kitchen
Before choosing left or right, decide which stretch of counter you rely on for preparing food. Keep that area available if another position can handle the wet dishes. Being right-handed or left-handed may influence what feels natural, but the sink, cupboards and available worktop matter just as much.
Imagine a sink with a small landing area on the left and the only generous preparation surface on the right. A compact rack on the left may be the better choice even if you normally set dishes down to your right. Try the movement with a few dry plates first, without crowding the counter with a full load.
Check the next step, too. Can you put the plates away without reaching across the rack? Will the cupboard door open above them? Is there a sensible spot for unwashed items so they do not collect among the clean ones?
If a kettle, toaster or coffee machine already fills the sink-side counter, consider its position before buying a smaller rack. Our guide to where to put small appliances in a small kitchen can help you decide which equipment needs to stay within daily reach.
Match the Rack to the Space Around Your Sink
Beside the sink: a compact rack with controlled drainage
A countertop rack keeps the sink available while dishes dry. It is a useful starting point when you wash larger pans or use a single bowl throughout meal preparation. Look at the rack’s complete footprint, including its utensil holder, cup hooks and drainage tray.
Choose a shape that suits the available strip of counter. A long, narrow rack may fit beside the sink better than a short, deep one, but rotating the rack only helps if the drainage arrangement still works. A draining spout that can change direction offers flexibility; it still needs to reach the bowl.
On an integrated draining board, check that the rack sits securely and leaves the water channels open. On a flat countertop, use the collection or drainage system specified for the rack rather than letting water spread over the surface.
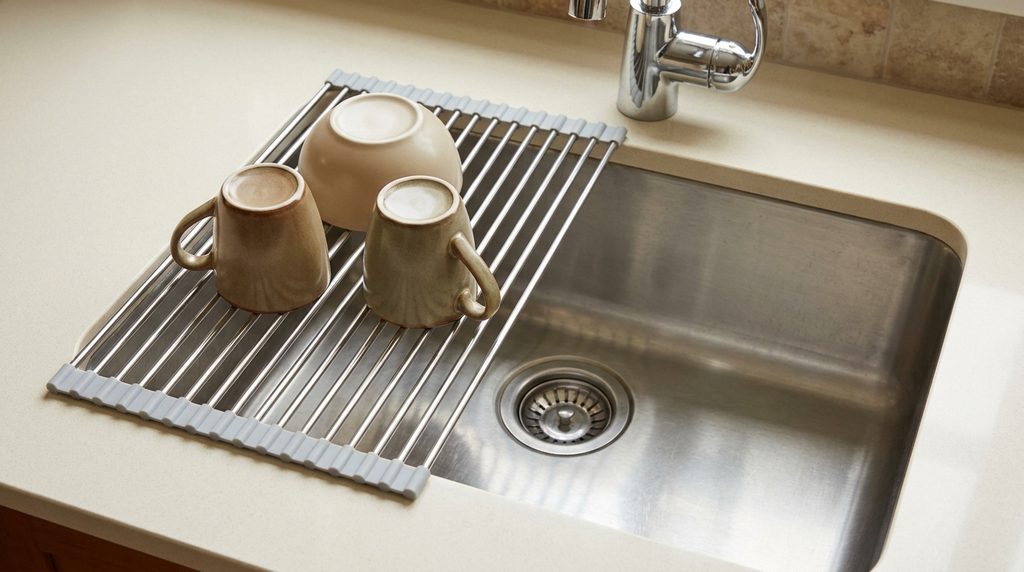
Across part of the sink: a roll-up or supported rack
A rack over the bowl moves drying off the counter and lets drips fall into the sink. This can suit a small batch of cups and bowls, especially when you want the counter clear after breakfast. However, those dishes now share the sink area with everything else you need to wash.
Measure the opening in the direction the rack will span and check the maker’s fit requirements. The supports must rest securely on the intended edges or ledges. Accessories made for a particular workstation sink may require that sink’s internal ledge; a similar-looking rack is not automatically interchangeable.
Keep enough access for the faucet and the bowl. If you must remove a loaded rack whenever you rinse a pan, the arrangement is unlikely to suit daily cooking. Use a model intended to support dishes, follow its load guidance, and do not assume a flat roll-up surface can hold plates upright without suitable supports.
Inside a second bowl: a removable fitted basket
With a double sink, a removable dish basket in one bowl may leave more counter space available. This works best when the other bowl is large enough for your usual washing and the drying bowl can stay separate from dirty dishes.
Check whether the basket rests on the rim, ledges or bottom, and buy for that arrangement. It should be stable, easy to lift out when empty and suitable for the bowl’s dimensions. A second bowl is only useful for drying if you are happy to give up that washing space for a while.
A tall rack that stands above the faucet is a different setup. Before considering one, check its loaded height, support footprint, access to the tap, and any window or cupboard behind it. Extra tiers do not help if retrieving a plate means reaching awkwardly over the sink.
Check Where the Water Will Go
Look at the full path from the wet dishes to the sink. Water may first collect in a tray, then pass through a channel and out of a spout. Each part needs to remain in the position intended by the manufacturer.
A raised sink rim is an important detail. A spout can point toward the sink yet stop short of the bowl or sit too low to clear the rim. Check its reach and height against your actual sink. Do not tilt the whole rack on improvised blocks to make it drain.
If the rack collects water instead of draining directly, make sure its tray is easy to remove and empty. A drying mat is another option for occasional items, but it needs its own cleaning and drying routine. Leaving a wet mat permanently beneath the rack makes it harder to notice moisture underneath.
After setting up, test drainage with a few washed items and look underneath the tray. Keep the surrounding counter dry according to its care instructions, and position the wet area away from nearby electrical appliances and their connections.
If water regularly splashes onto the painted wall behind the sink, review your kitchen backsplash height as well as the rack position; directing drainage into the bowl does not protect every part of the wall.
Measure the Rack With Dishes in It
The measurements of an empty rack do not show the space occupied by handles, tall plates and your hand lifting a mug. Check the actual dishes you wash most often rather than choosing capacity from a photograph.
Measure the available width and depth, then check upward clearance beneath cupboards or a window that opens inward. Include any projecting cup holders. For an expandable rack, compare both its closed and fully opened size with your counter.
For example, a rack that occupies 30 cm along a narrow worktop when closed may extend beyond your available 45 cm when opened. Its compact storage size would not tell you whether it fits during use. Write down both dimensions before deciding where it belongs.
Make a paper outline of the complete footprint and place it on a dry counter. Open nearby doors and set a representative plate beside it to judge height. The outline cannot test the rack’s stability, but it can reveal obvious conflicts before you order.
Large cookware can distort your choice of rack size. If the only awkward item is an occasional roasting tin, consider drying and putting it away separately instead of dedicating more daily counter space to it. Our guide to organizing pots and pans in a small kitchen helps with the storage step that follows.
Give the Rack a Place to Dry and Be Put Away
A folding or roll-up rack only frees space if you have somewhere convenient to put it once it is clean and dry. Measure the folded shape against a cupboard opening or a designated section of a drawer. Avoid choosing a storage position that requires moving several other items every day.
Clean the tray, utensil holder and drainage channel as well as the visible frame. Follow the instructions for the particular rack: care requirements differ. For example, Joseph Joseph’s Extend Slim Steel care instructions specify hand washing and drying, so dishwasher cleaning should not be assumed for every drainer.
Once dishes are dry, return them to their cupboards and let the rack and tray dry before enclosed storage. If you prefer to leave the rack out, keep it sized for the dishes you actually use rather than treating it as another permanent cupboard.
Try the arrangement through several meals. If you keep moving wet dishes to reach the tap or prepare food, change the position or rack type. The useful setup is the one that keeps washing, drying and cooking from competing for the same small patch of space.
Frequently Asked Questions
Where is the best place to put a dish drying rack in a small kitchen?
Beside the sink is usually best, with drainage directed into the bowl — but keep your main food-prep counter clear. Test the route from washing to drying to putting away with a few dry plates before deciding left or right.
Can you put a dish drying rack over the sink?
Yes — a roll-up or supported rack across part of the sink moves drying off the counter and lets drips fall straight in. Just make sure it rests securely, leaves room for the faucet, and you don’t have to move it every time you rinse something.
How do I stop water pooling under my dish rack?
Check the full drainage path — tray, channel and spout must all sit as the maker intended, and the spout needs enough reach and height to clear a raised sink rim. After setup, test with a few washed items and look underneath the tray.
Should the dish rack go on the left or right of the sink?
Put it where it doesn’t steal your main prep space. If your generous worktop is on the right, a compact rack on the left may suit you better — even if you’re right-handed.
Where do I store a folding dish rack when it’s dry?
Measure its folded shape against a cupboard opening or drawer section before you buy. It only frees counter space if you have a convenient spot for it — avoid storage that means shifting other items every day.