Cabinet Knobs vs Pulls: What Works on Doors and Drawers?
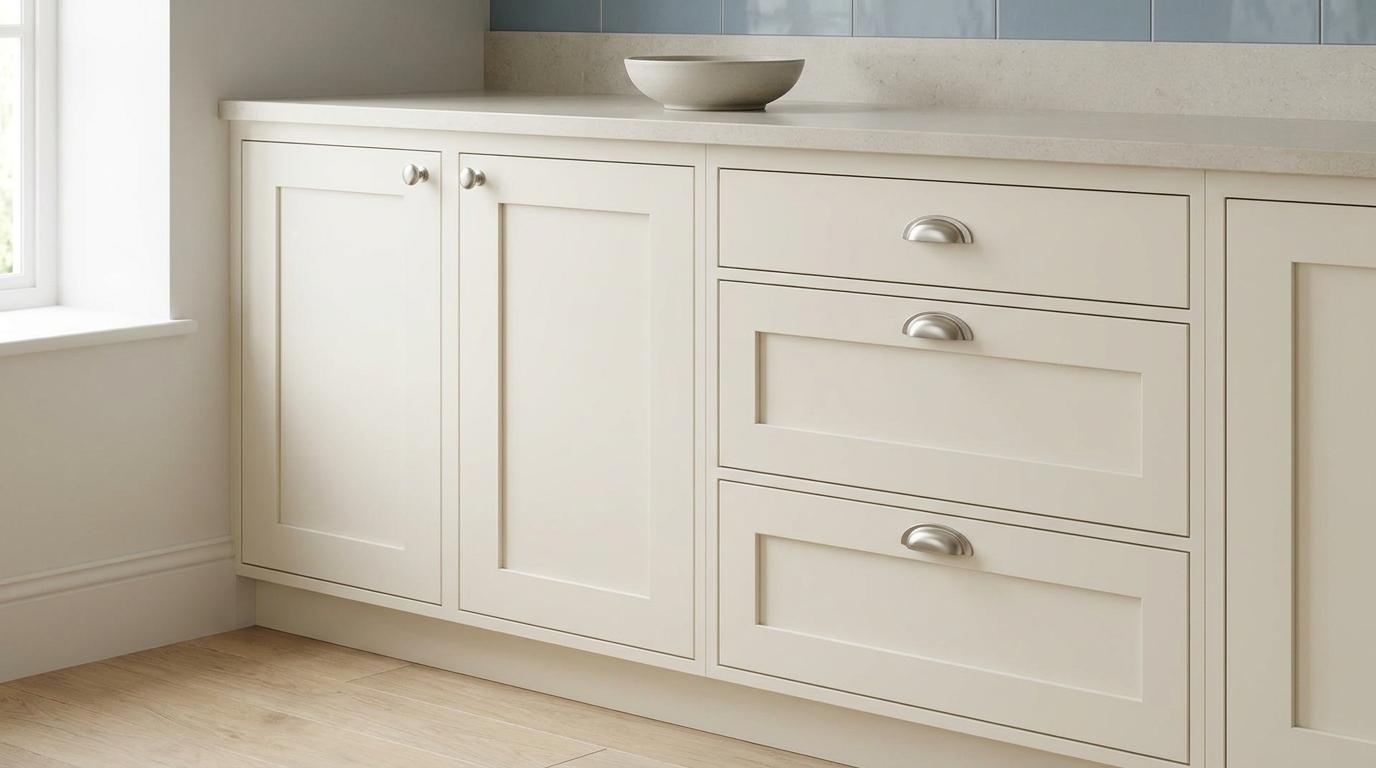
Choosing cabinet knobs vs pulls starts with the doors and drawers you open every day. Knobs on doors and pulls on drawers are a useful starting combination, but a comfortable grip and the holes already in your cabinets matter more than following that pattern everywhere.
For an existing kitchen, first check what can be replaced without repairing the fronts. For new cabinets, try the hardware in your hand before deciding where to drill. A handle that looks right in a photograph can still leave too little room for your fingers or collide with the next door.
On this page
- Choose by how the cabinet opens
- Check the holes before changing hardware
- Make knobs and pulls work together
- Test a sample before ordering the set
Cabinet Knobs vs Pulls: Choose by How the Cabinet Opens
A typical knob attaches at one point. A conventional bar pull attaches at two and gives you a longer grip area. Cup pulls, edge pulls and other designs work differently, so check the mounting drawing for the exact model rather than assuming all handles install alike.
| What you are opening | A useful starting point |
|---|---|
| An easy-opening cupboard door | Try a knob if you can grasp it comfortably at its installed height. |
| A deep drawer holding cookware | Start with a pull that lets you get several fingers behind it. |
| A narrow drawer front | Compare a knob with a short pull; check grip as well as appearance. |
| A pull-out trash cabinet | Test a pull with the bin in place and its normal load. |
| A door close to a wall or another cabinet | Check the full opening path with the proposed hardware fitted. |
The distinction is practical: CabinetDoors.com highlights pulls for heavier drawers and easier gripping. That does not make every pull comfortable. A narrow cup pull may allow less finger room than expected, while a generously shaped knob may work well on a light door.
Try the motion at the height where you will use it. Reaching up to an upper cupboard is different from opening a low drawer. If more than one person uses the kitchen, let them try the sample too. Look for a comfortable grasp without forcing fingertips into a small gap.
If a drawer sticks or scrapes, investigate that separately. A larger handle does not correct damaged runners or an overloaded drawer. Sorting the contents when you organize pots and pans can help you assess the drawer with the load you actually intend to keep.
Check Existing Holes Before Changing Hardware
Remove one handle carefully and record its fixing pattern before shopping. Look at the exposed finish as well: the old base may have left a mark or covered an area that differs from the surrounding cabinet. A smaller replacement might fit the holes yet reveal that outline.
Hole spacing is not overall length
Center-to-center, often shortened to CTC, means the distance from the center of one fixing hole to the center of the other. Overall length measures the entire handle from end to end. The M. Marcus cabinet hardware guide distinguishes these measurements and advises matching existing CTC when replacing pulls.
For example, if your holes are 96 mm apart center-to-center, a fixed pull with 128 mm centers will not reuse both holes. A different 96 mm pull might fit, even if its overall length looks quite different. Confirm the model’s actual specification rather than choosing from a rounded size in a product title.
Check more than one cabinet. An earlier repair or a different drawer size may have introduced another spacing. Write the measurement next to each group of matching fronts so you do not order one size for the whole room by mistake.
Changing a knob to a pull needs a layout decision
A knob’s single hole does not automatically become a useful hole for a two-point pull. Reusing it as one fixing point can leave the handle off-center or too close to an edge. Work out where both new holes would sit before deciding whether reuse makes sense.
The reverse change has a similar problem: replacing a pull with one knob leaves unused holes. Repairing and refinishing, or using a compatible backplate that actually covers them, may be necessary. Include that work in the decision. In a rental, agree any new holes or finish repairs with the owner first.
Also measure the material the screws pass through. A drawer may have a separate decorative front over its box, making the fixing thickness different from a cupboard door. Emtek’s hardware guidance notes that extra-thick fronts can require longer screws of the same type. Follow your hardware’s instructions for the correct thread and length; do not force a screw that will not tighten properly.
Make Knobs and Pulls Work Together
Choose a pattern you can explain simply: knobs on most hinged doors, pulls on drawers, and a pull on the tall pantry door because you prefer its grip. That is a coherent arrangement even though every front does not use the same hardware.
Keep one visible connection between the pieces. A rounded knob can sit comfortably alongside a softly curved pull in the same finish. A square knob and a straight bar can create a more angular group. Compare the actual samples against the cabinet color; matching finish names alone do not guarantee an identical appearance.
Emtek also explains that base metals can produce differences in the appearance of a finish. Put the proposed knob and pull side by side in daylight and under the kitchen lights. If the combination bothers you at sample stage, resolve it before multiplying it across twenty fronts.
For new, undrilled fronts, compare paper outlines of two pull lengths at their intended positions. Use a finish-safe method and test any tape in an inconspicuous place. Stand back to judge the repeated pattern, then return to the actual sample for the grip test. Paper can show scale, but it cannot tell you whether your knuckles fit.
On a wide drawer, do not add two handles just to fill the space. Consider whether you normally open it with one hand and whether the drawer operates smoothly from the proposed grip point. Check the cabinet maker’s guidance before committing to new fixing positions.

Test One Sample Before Ordering the Set
Begin with a door or drawer you use often. If the sample matches existing holes, fit it according to its instructions. For undrilled fronts, use a showroom sample or a separate test board for grip checks before making permanent holes in your kitchen.
- Open it normally. Try the grip with your usual hand position. Check for sharp-feeling edges or cramped finger space.
- Check nearby movement. Open adjacent doors and drawers through their normal range. Look for contact with walls, neighboring handles or appliances.
- Notice the projection. Check whether projecting ends sit where pockets or clothing brush past. The space beneath the grip matters separately from how far the whole handle projects.
- Check cleaning access. Can you wipe around the base and beneath the handle? Follow the finish’s care instructions.
- Count by fixing type. Record the quantity, model, finish, CTC where relevant, and screw requirements for each group.
Consider a hypothetical kitchen with six easy-opening cupboard doors, three cookware drawers and one pull-out trash bin. You might choose six knobs and four pulls, then change one cupboard to a pull after trying its awkward reach. That exception is useful information from the room, not a failure to follow a design rule.
Order the full set only after the sample works in use and looks right alongside the other pieces. Keep the product details and one clear photo of your measurements. The best choice is the hardware you can reach, grip and replace with confidence, repeated in a way that suits your kitchen.