Where to Put a Plunger in a Small Bathroom
A plunger is the one tool every bathroom needs and the one thing nobody wants to look at. In a small bathroom, where every centimeter of floor space is already spoken for, finding it a home takes more thought than most people give it. The good news: you have more options than the bare floor beside the toilet, and most of them use dead space you already own.
This guide ranks the six best spots for a plunger in a tiny bathroom, with the clearances each needs and a simple three-step hygiene system to keep it clean and odor-free. It is part of our small-bathroom storage cluster: start with our small bathroom storage ideas for the full room plan, then solve the plunger.
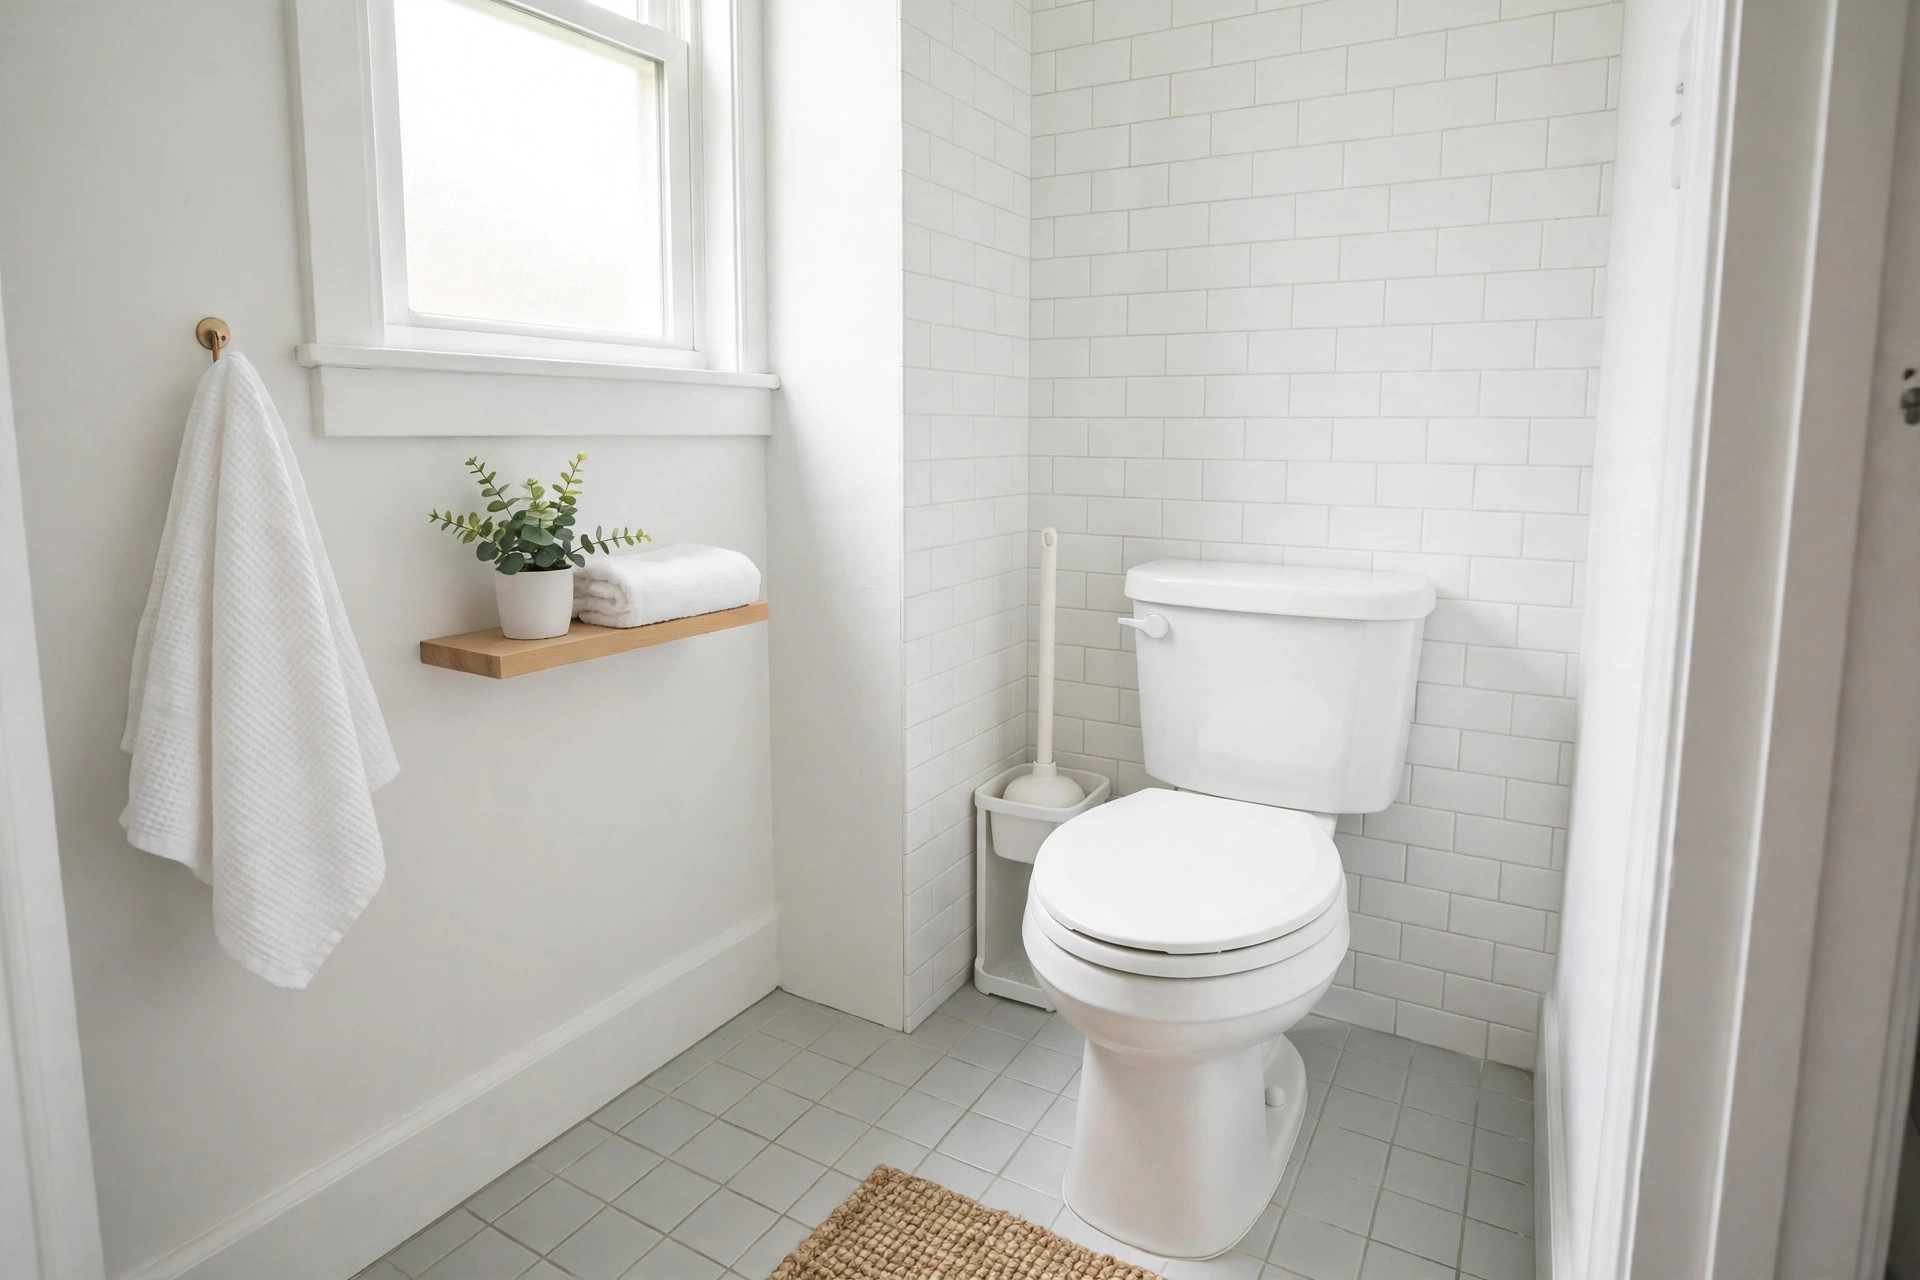
Behind the toilet: the easiest win
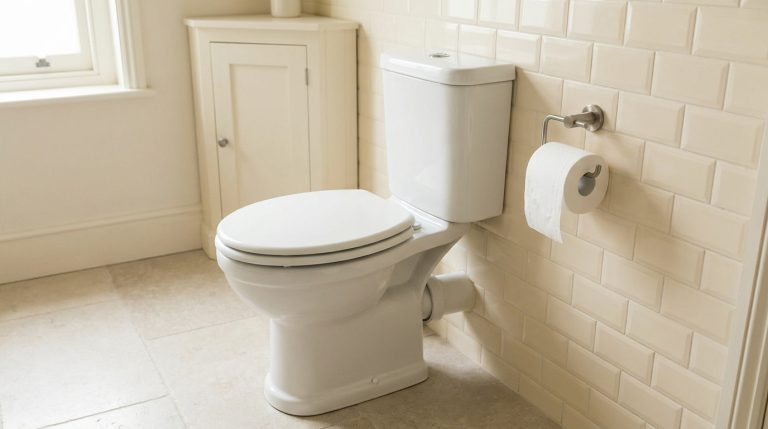
The space behind the toilet tank is dead space in every small bathroom, and it happens to be plunger-sized. Slide a drip-tray caddy or a lidded canister in there and the bulk of the fixture hides it from the doorway sightline, while the handle stays within arm’s reach for the moment you need it.
Measure before you buy. You need roughly 20 cm of depth between the back of the tank and the wall to fit a standard caddy with a footprint of 15 to 18 cm in diameter. Some older tanks sit nearly flush with the wall, in which case the gap beside the bowl (spot three below) is the better pick. Push the caddy toward the side you use least, and keep it on the opposite side from your toilet paper storage so one grab never knocks over the other.
Inside the vanity cabinet: hidden, but only if dry
This is the most invisible option of all: the plunger disappears completely behind a cabinet door. It works with one non-negotiable rule: the plunger must be fully dry before it goes in.
After use, stand the plunger on a drip tray or hang it over the edge of the tub for a few hours until the rubber head is dry to the touch. Then it can live upright in the cabinet, ideally inside its own small bin so residue never touches your cleaning supplies. Check the cabinet interior height first: a standard plunger with its handle stands 50 to 60 cm tall, which fits most vanity cabinets but not shallow wall cabinets. If you are reorganizing that space anyway, see how to organize under a small bathroom sink for a layout that keeps cleaning tools quarantined from everything else.
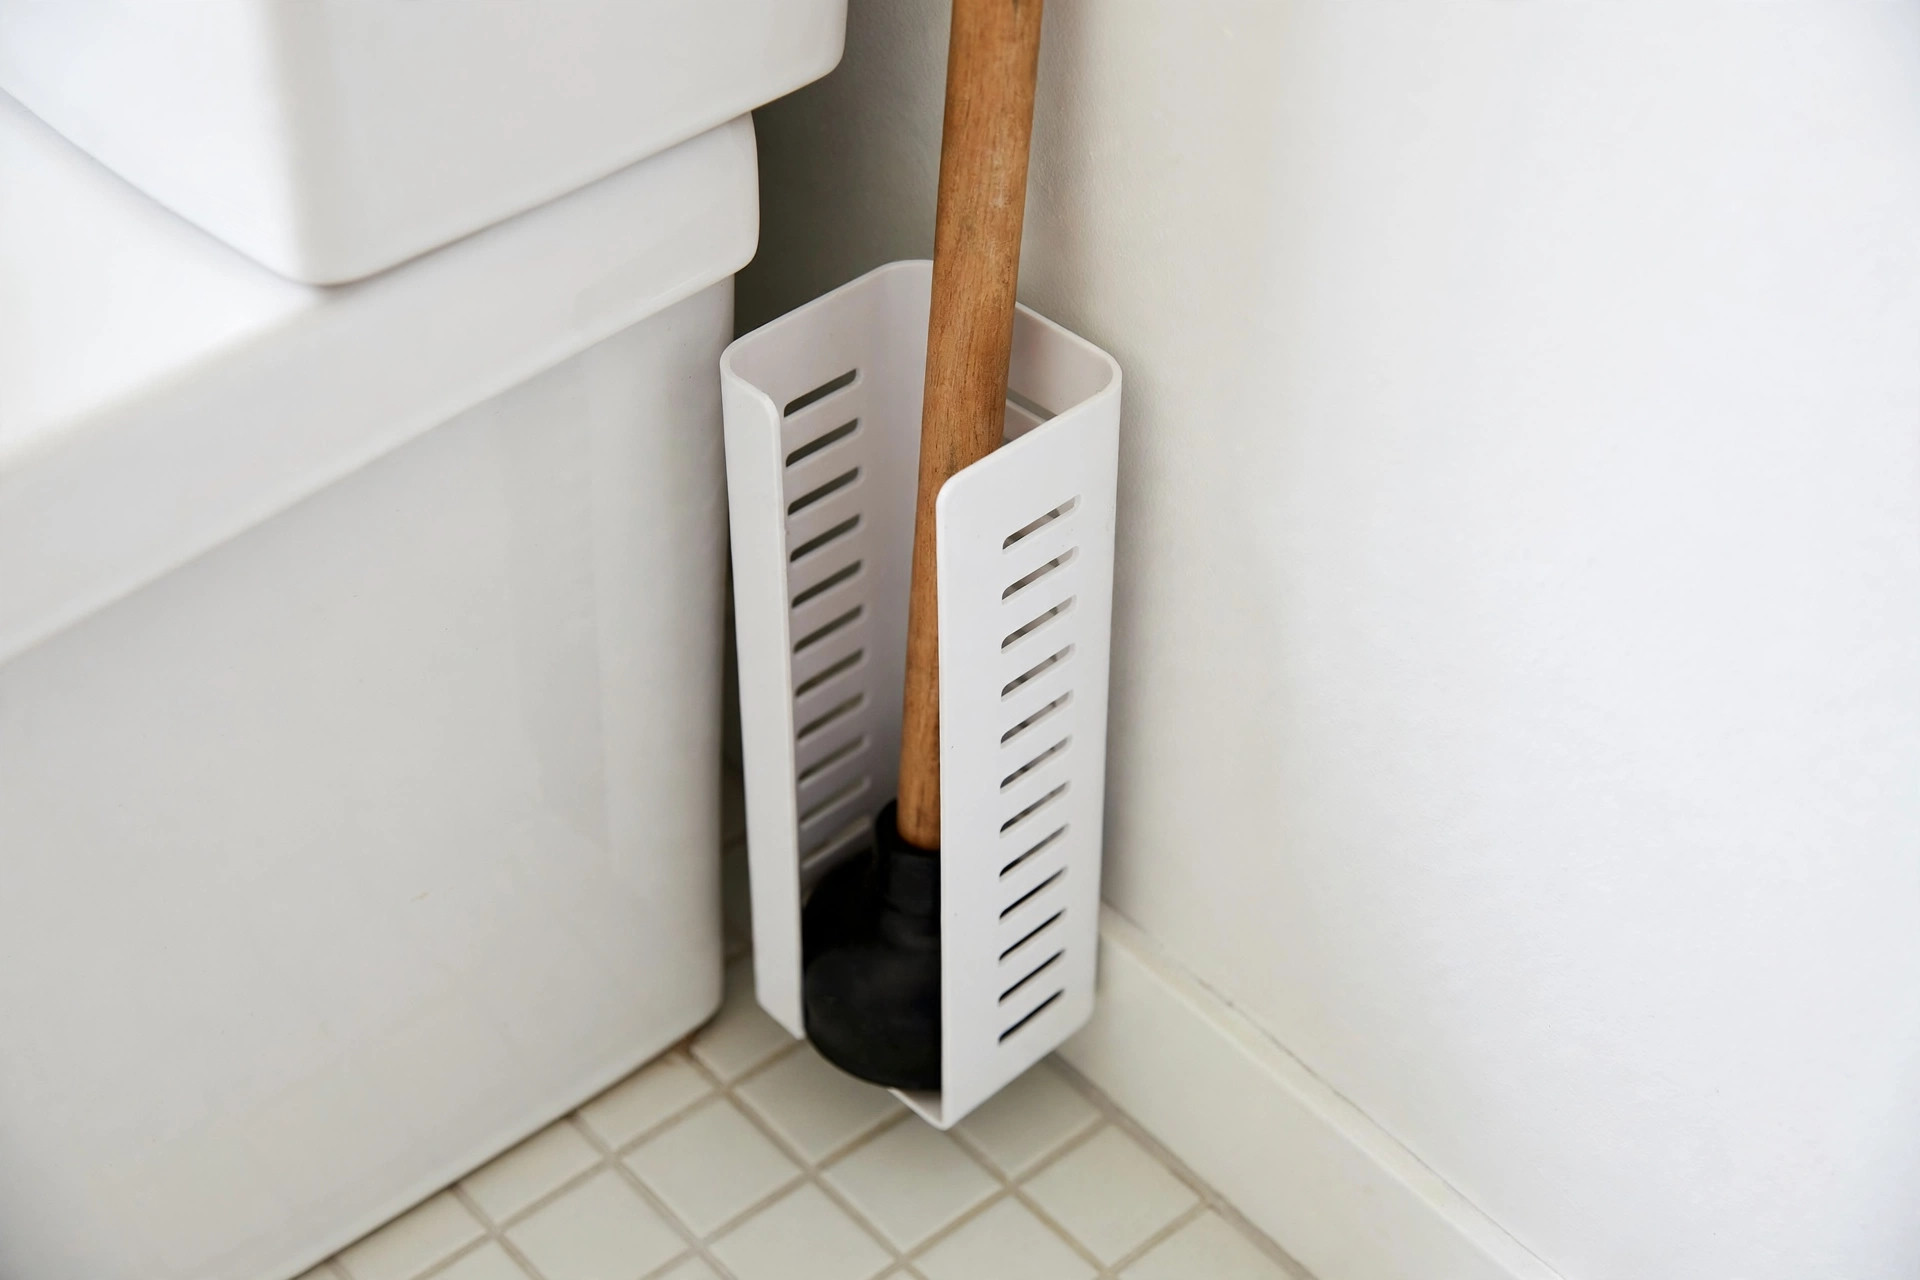
A slim caddy in the gap beside the toilet
US building codes call for roughly 38 cm (15 inches) from the toilet centerline to the nearest side wall or fixture, which means even a compact bathroom usually has a narrow pocket of floor space next to the bowl, often 25 to 40 cm wide. That pocket was made for a slim vented plunger caddy.
Look for a caddy with a footprint of about 15 to 18 cm in diameter, ventilation slots for airflow, and a built-in drip tray. The slots matter more than the looks: a fully enclosed caddy with no airflow keeps the rubber head damp, and damp rubber is where mildew starts. A vented caddy in this gap stays reachable, stable, and dry.
An over-toilet shelf or rack
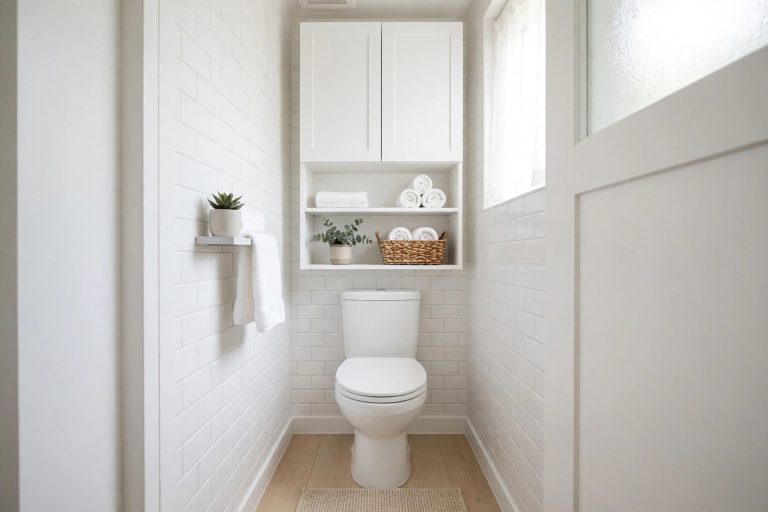
The wall above the tank is free vertical space, and a small shelf or wall-mounted rack can hold the plunger handle-up, completely off the floor. This is the best pick when your floor space is truly zero and your ceiling height is generous.
Mount the rack high enough that the handle clears the tank lid, and remember the plunger stands 50 to 60 cm tall overall. Never rest the rack or the plunger on the tank lid itself: concentrated weight and vibration can crack porcelain. If you like this vertical approach, our guide to over-toilet storage for small bathrooms shows how to build out the whole zone.
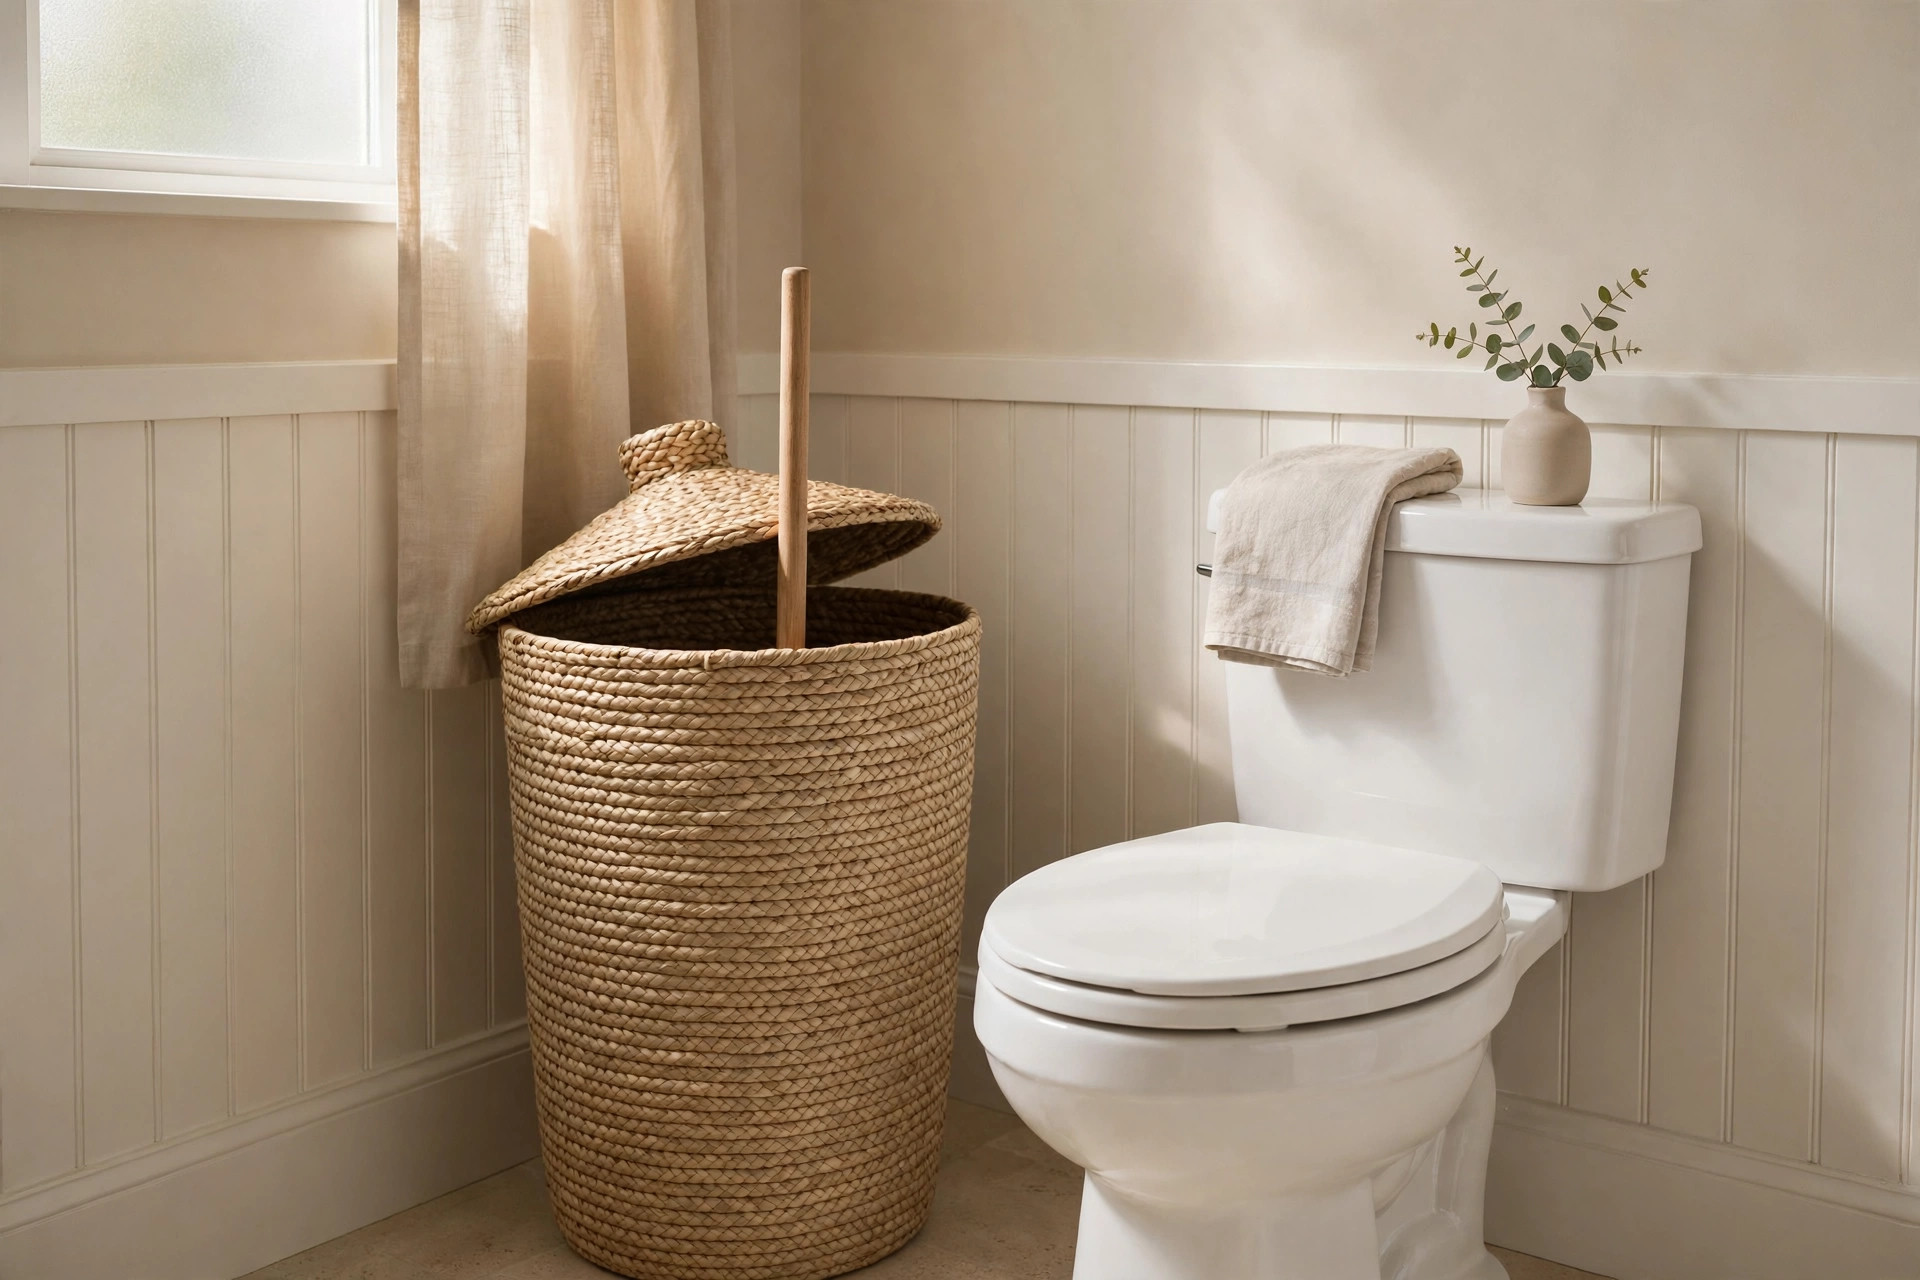
A tall decorative container that hides it
If you want the plunger to vanish entirely, give it furniture. A tall lidded basket, a slim hamper, or a decorative waste bin roughly 55 to 65 cm tall swallows the plunger head while the handle peeks out the top. It reads as decor, not plumbing.
Choose a container you can wipe clean, and set a small plastic drip tray at the bottom. Natural wicker and seagrass look beautiful but will not survive repeated drips without a waterproof liner. This is the prettiest option on the list, and it is also the easiest to move when guests come over.
A wall-mounted holder
A suction-cup or screw-mounted holder on the wall behind the door, on the side of the vanity, or on the inside of a tall cabinet door lifts the plunger off the floor and costs you zero floor space. For rentals, choose a suction or adhesive mount and check the weight rating first: a plunger with a wet rubber head is heavier than it looks.
The rubber head stays exposed here, so pair it with the drying step in the hygiene system below.
The hygiene system: clean it, dry it, then hide it
Where you store the plunger matters less than how you store it. Follow this three-step routine and any spot on this list stays sanitary:
- Rinse first. After using the plunger, hold it in the bowl and flush two or three times so clean water rinses the rubber head.
- Disinfect. Spray the head with a bathroom disinfectant, or soak it for a few minutes in the bowl with diluted bleach (about one part bleach to ten parts water) or white vinegar. Let it sit, then rinse again.
- Dry before enclosing. This is the step everyone skips. Stand the plunger on a drip tray or hang it over the tub edge for a few hours until it is completely dry. A damp plunger sealed inside a closed caddy or cabinet is how you get mildew, odor, and a rubber cup that degrades early.
Clean the caddy or drip tray itself once a month with the same disinfectant, and replace the plunger when the rubber starts to crack or lose its shape, usually every couple of years.
Where never to put a plunger
A few placements are never worth it, no matter how small the bathroom:
- On the bare floor. It leaves a ring of dirty water, collects bacteria, and looks terrible.
- In the shower or tub. Warm, constantly wet, and hard to keep clean: the ideal breeding ground for bacteria, and it steals your shower space.
- Inside a sealed container while still wet. See the drying rule above.
- With clean linens or pressed against towels. Even inside shared storage, keep the plunger quarantined in its own caddy or bin.
Frequently asked questions
Where should I put a plunger in a small bathroom?
Behind the toilet in a drip-tray caddy is the best default: dead space, hidden from the doorway, handle within reach. If that gap is too shallow, try a slim vented caddy beside the bowl or a fully dry plunger in the vanity cabinet.
Can I store a plunger in the vanity cabinet?
Yes, as long as the plunger is completely dry before it goes in. Let it air-dry on a drip tray or over the tub edge for a few hours first, then store it upright inside its own small bin. Check the cabinet interior height first, since a plunger with its handle stands 50 to 60 cm tall.
How do I keep my plunger from smelling?
Odor comes from moisture, not the plunger itself. Rinse the head with clean flushes after every use, disinfect it, and let it dry fully before enclosing it. Use a caddy with ventilation slots and a drip tray, and clean the caddy monthly with bathroom disinfectant.
How often should I clean a toilet plunger?
Rinse and disinfect the rubber head after every use. Deep-clean the caddy or drip tray once a month. Replace the plunger itself when the rubber cracks or loses its shape, usually every couple of years.
Is it okay to store a plunger in the shower?
No. A shower stays warm and wet, which is the ideal environment for bacteria and mildew to grow on the rubber head, and the plunger takes up space you need. Any of the dry storage spots in this guide is safer and more hygienic.